

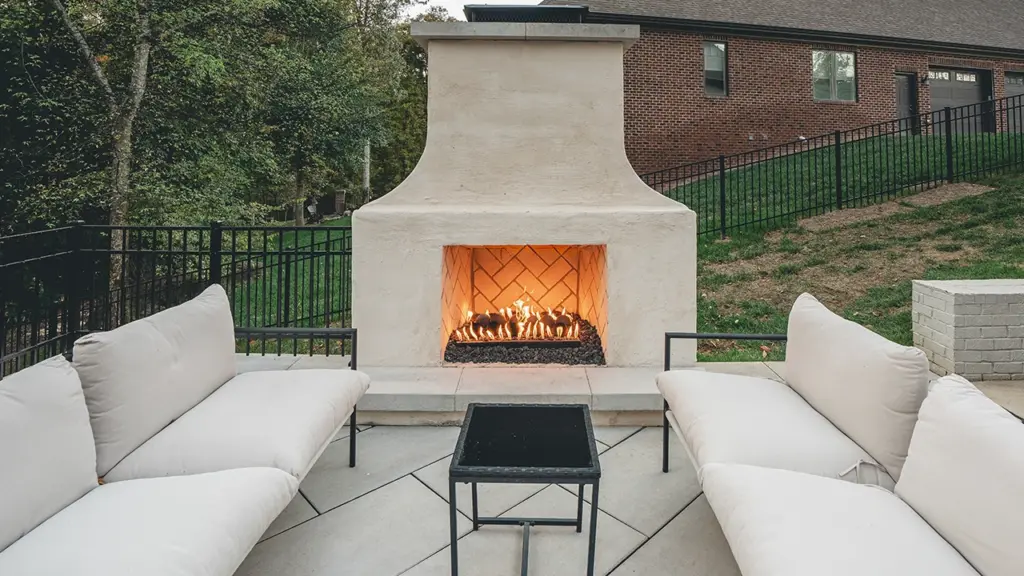
Designing the Total Backyard: Integrating Patios, Fire Pits, and Outdoor Living
A lot of backyard projects start with a single idea, usually a swimming pool. But once the pool is installed, many homeowners realize the water is only one part of how they actually spend time outside.
In East Tennessee, our outdoor season doesn’t wrap up when the water cools down. Between late September and November, the humidity drops, evenings get crisp, and the backyard becomes one of the best places to relax. If your space is only built for swimming, you end up abandoning your yard for six or seven months every year.
Integrating your patio, fire pit, dining areas, and pool into a single unified plan turns an underused yard into a comfortable living space from early spring through the late fall. Here is how we look at hardscaping, layouts, materials, and long-term planning across Knoxville, Maryville, and the surrounding foothills.
Avoid the Feature Cram Trap
One of the most frequent mistakes we see on site plans is trying to squeeze every imaginable feature into the yard just because the lot size technically allows it. A pool, outdoor kitchen, fire pit, dining table, lounge chairs, pergola, and garden beds can look balanced on a 2D rendering. In practice, crowding too many elements into a yard makes the finished project feel smaller and more cramped than it did when it was just open grass.
Outdoor furniture takes up far more room than people anticipate. A fire pit might only be four feet wide, but once you set Adirondack chairs around it and pull them back to a comfortable distance from the flames, that circle spans twelve to fourteen feet. If people cannot walk behind those chairs without stepping into a garden bed or tipping into the pool, the layout fails.
Good flow means keeping clear transit corridors:
- House to entertaining zones: A straight, unobstructed walkway from the patio doors to the primary seating and cooking spots.
- Pool perimeter clearance: Enough deck space to walk safely around the water edge without bumping into lounge chairs or furniture.
- Dedicated destination zones: Giving the fire feature its own defined corner or terrace instead of treating it as an afterthought shoved onto leftover concrete.
Sometimes cutting one feature, or scaling down an oversized outdoor kitchen island, creates a vastly better, more open backyard.
Fire Pit Placement and Utility Planning
There is no universal formula for how far a fire pit should sit from the pool edge, but we never recommend dropping one right on top of the water. You need adequate buffer room for seating, foot traffic, code clearances, and wind movement.
When pairing a fire feature with a pool, you also have to weigh the daily realities of gas versus traditional wood:
| Fire Feature Type | Practical Advantages | Considerations & Tradeoffs |
| Natural Gas or Propane | Instant on/off convenience; zero smoke, flying sparks, or ash drifting into the pool water and clogging filtration filters. | Requires running underground utility lines; higher upfront setup cost. |
| Wood-Burning | Classic campfire sound, aroma, and radiant heat that fits cool East Tennessee autumn nights. | Requires dedicated wood storage; wind blows smoke into seating areas; soot and ash require ongoing deck cleanup. |
Convenience often dictates how often a feature gets used. With gas or propane, you can walk outside on a Tuesday evening, turn a key, sit by the fire for forty-five minutes, turn it off, and head to bed. With wood, you are committed to building, tending, and letting the fire burn down safely.
Run Utilities Before You Pour
If there is even a slight chance you might want a gas fire pit, outdoor kitchen, post lighting, or sound system later on, run the conduit and sleeves during the initial excavation.
Digging trenches and laying pipe is straightforward when the yard is already torn up by skid steers and excavators. Trying to add gas or power after a patio is completed means saw-cutting cured pavers, trenching through finished stone, or tearing up sod. Running sleeves under the patio base on day one costs very little and keeps your future options open.
Picking the Right Patio Material
Your choice of hardscaping material sets the tone for both aesthetics and safety. Wet feet from the pool, barefoot traffic in ninety-degree July sun, and heavy winter freezing all put stress on a patio surface.
| Material | Slip Resistance | Heat Retention |
| Concrete Pavers | High (textured) | Moderate |
| Tennessee Flagstone | Moderate to High | Moderate to High |
| Travertine | High (unpolished) | Very Low (cool) |
| Stamped Concrete | Varies by sealer | High to Very High |
- Concrete Pavers: Pavers offer great slip resistance when you pick a textured style, and they handle regional temperature shifts well. Because they are individual units installed over an aggregate base, you can lift and reset pieces if you ever need to access underground utilities later.
- Natural Stone (Flagstone & Travertine): Native Tennessee flagstone gives backyards an authentic, regional look that blends naturally into wooded lots. Travertine stays noticeably cooler under direct summer sun than poured concrete, making it comfortable for bare feet. Stone density and finish need to be vetted carefully around chlorinated or saltwater pools.
- Stamped Concrete: Stamped slabs offer broad color flexibility, but the finish must be balanced. Heavy gloss sealers become slick when wet, so an anti-slip additive mixed directly into the topcoat is essential around pool edges.
Surviving East Tennessee Clay and Slopes
The most critical part of an outdoor living space is the part you never see once the project is finished.
East Tennessee is famous for dense, heavy red clay. Clay expands when wet, holds standing water, and contracts when dry. When you combine waterlogged clay with winter freeze-thaw cycles-where daytime highs hit fifty degrees and nights drop into the low twenties-unprepared ground will shift. That movement cracks rigid concrete slabs and causes pavers to heave and sink unevenly.
A long-lasting patio relies on disciplined ground prep:
- Deeper excavation: Removing native topsoil and unstable clay down to a firm sub-grade.
- Geotextile stabilization fabric: Laying woven or non-woven fabric between the clay and base material to keep aggregate from sinking into the mud over time.
- Compacted crushed stone base: Building up a thick, mechanical base of dense-grade aggregate, compacted in progressive layers.
- Positive slope and water management: Installing French drains, catch basins, and proper grading to route downspout runoff and surface water completely away from the pool deck and fire area.
Spending money on excavation and base gravel isn’t the flashy part of a backyard remodel, but it dictates whether your patio stays level ten years from now.
Case Study: Turning a Knoxville Hillside into a Multi-Zone Retreat
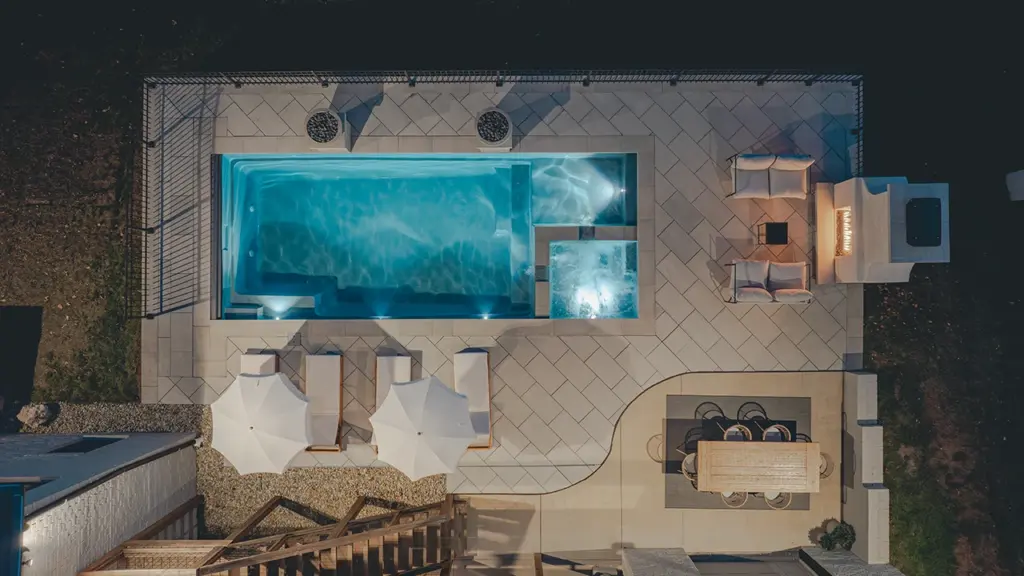
Dealing with elevation changes is part of building in our area. A recent project we completed in Knoxville illustrates how integrated design solves site challenges.
The property featured a severe backyard slope dropping directly away from the rear of the house. The yard was practically unusable; kids couldn’t play ball on it, and there was nowhere to place a chair or grill.
Instead of treating the grade as an obstacle, we terraced the hill to create distinct outdoor living rooms across a single cohesive footprint:
- The Upper Deck & Dining Area: Positioned nearest the house for easy kitchen access, framed by seating walls that manage the upper grade change.
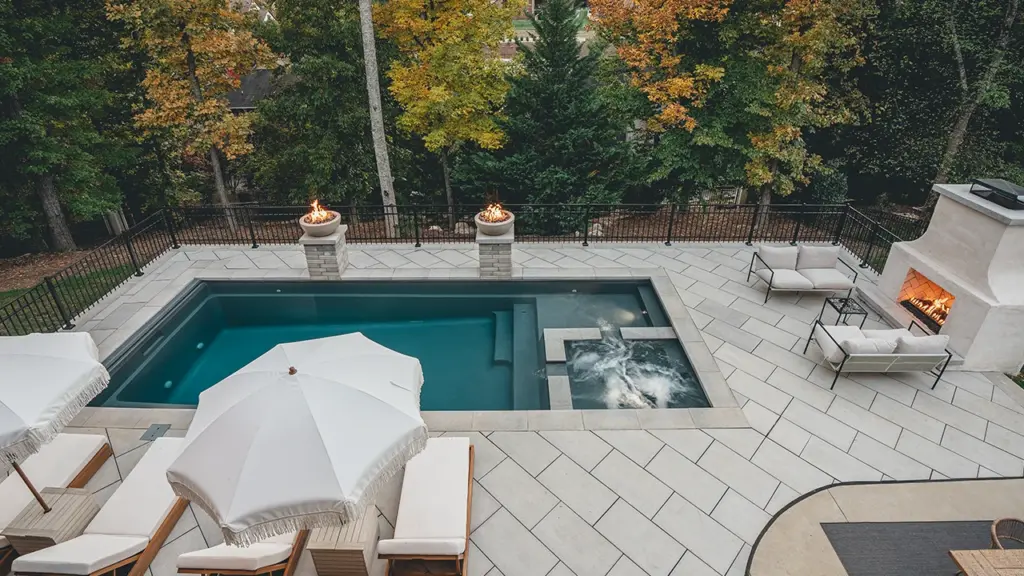
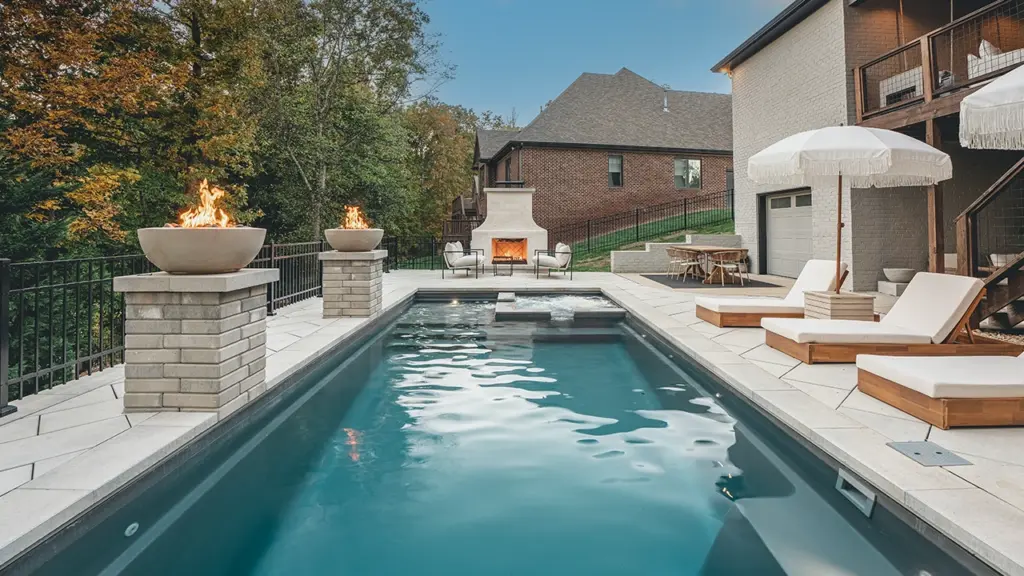
- The Inground Pool & Spa: Anchoring the center terrace, paved with textured concrete pavers that provide safe footing when wet.
- The Focal Fireplace: Rather than placing a fire pit in the middle of normal pool traffic, we built a full outdoor stone fireplace at the far end of the patio. It sits in its own dedicated lounge area, feeling connected to the pool deck while functioning as its own quiet retreat.
- Waterline Fire Bowls: We added two gas-lit fire bowls along the far coping edge of the pool. When the sun sets behind the trees, the fire reflects across the water surface, illuminating the yard without relying on harsh overhead lights.
During July, the pool is the center of attention. In late October and November, the family sits around the fireplace with the fire bowls lit, looking out over the yard. The hillside went from dead space to a functional, three-season retreat.
Phase Your Build with the End in Mind
Not every homeowner has the budget to install a pool, custom fire pit, outdoor kitchen, and pavilion all at once. That is completely normal.
The mistake is designing one piece this year, and trying to figure out the next piece three years down the road without a master plan. When you build haphazardly, you inevitably end up tearing out finished work to run pipes, knocking down walls to make room for grills, or realizing your patio base was never sized to support a heavy stone structure.
We advise homeowners to design the entire backyard vision up front. Once the master plan is finalized:
- Grade the entire site and set retaining walls to final elevations.
- Run electrical conduit, gas pipes, and drainage lines to every future station.
- Pour the pool and core patio surfaces in Phase 1.
- Add the gas fire pit, covered pergola, or outdoor kitchen in Phase 2 or 3 as budget allows.
By planning ahead, future construction connects cleanly into existing utility runs without disturbing your pool deck or tearing up your yard a second time.
If you are planning a pool project, we would love to be a part of it. To get started, simply fill out our easy form linked below.